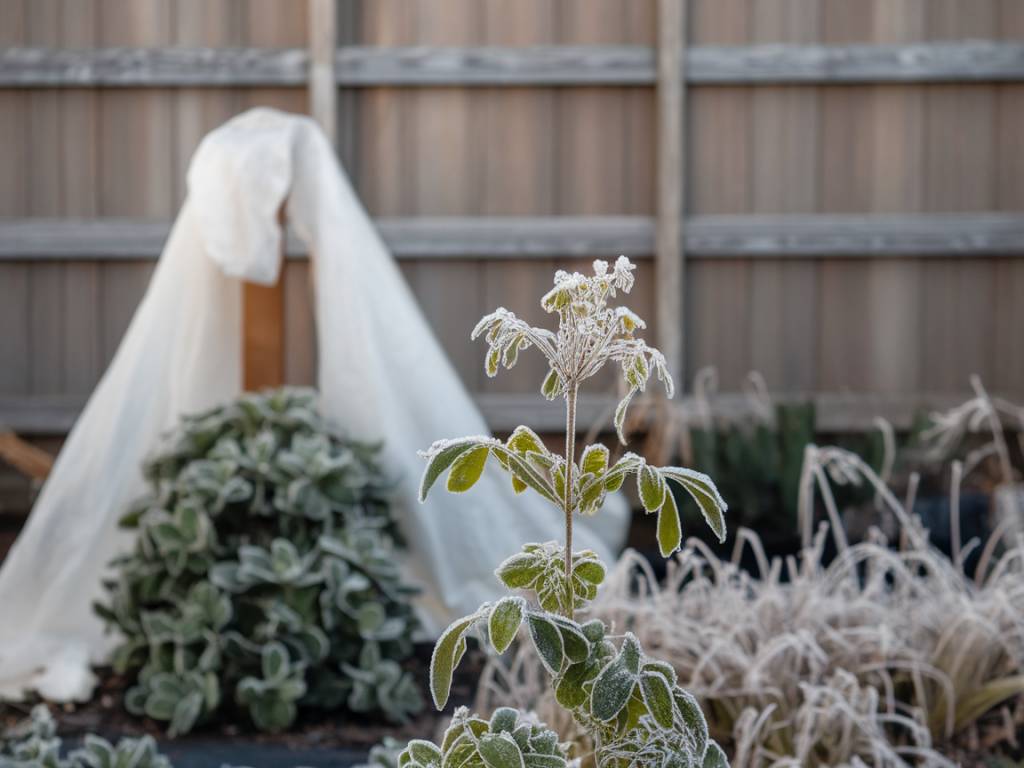
If you’re like me, you’ve probably watched your lovingly-tended plants struggle or even wither away as the colder months approach. It’s always heartbreaking, isn’t it? But there’s a wonderful way to extend your growing season and protect those precious greens: building a cold frame. Using this simple structure, inspired by the natural principles of permaculture, you can keep your garden thriving through autumn and even into winter.
Understanding a Cold Frame
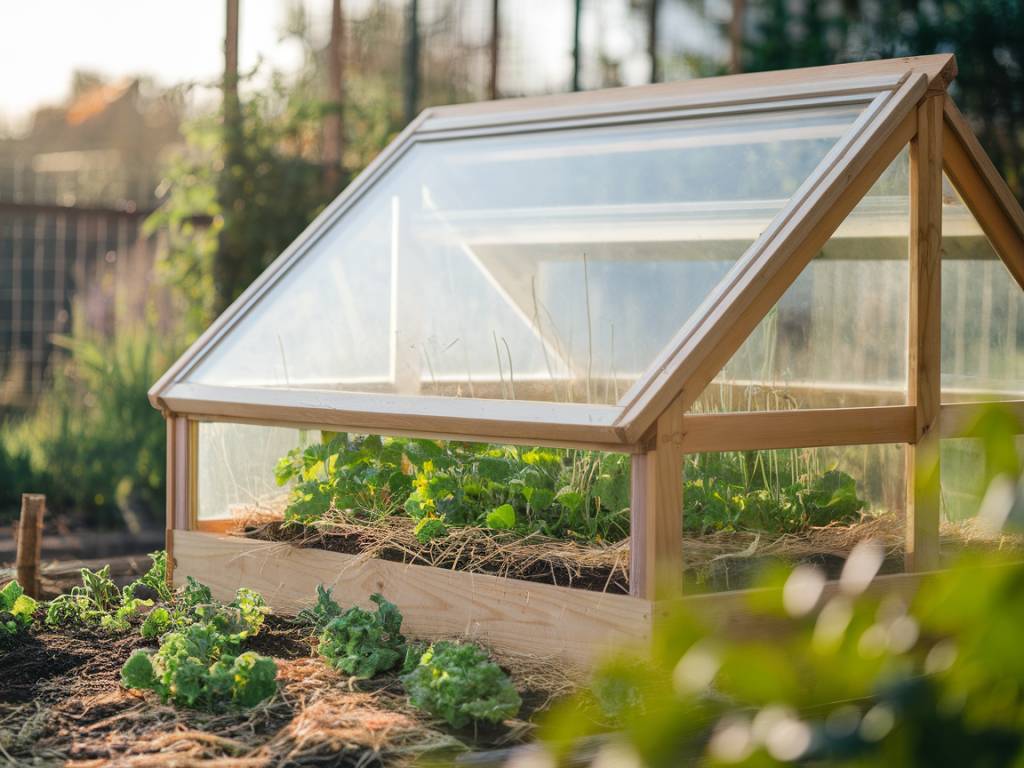
In its most basic form, a cold frame is a transparent-roofed enclosure built low to the ground. It acts as a miniature greenhouse, capturing and storing solar heat. This creates a microclimate that raises the temperature inside, giving your plants the much-needed warmth to survive the cold.
I find the best materials to use are old windows, though any clear, sturdy material will work. We’re not just creating a structure; we’re fostering an environment where nature can thrive even under less-than-perfect conditions.
Materials You’ll Need
When I first built my cold frame, I was surprised by how few materials were required. Here’s what you’ll need:
- Reclaimed windows or clear plastic sheets
- Wooden boards
- Hinges
- Nails or screws
- Insulating materials (optional)
- A hammer or drill
- Measuring tape
- A saw (if you’re cutting wood to size)
Choosing the Right Location
Where you place your cold frame can make all the difference. Choose a location that gets plenty of sunlight, ideally facing south to maximize sun exposure. Make sure the spot is well-drained to avoid waterlogging. I always check the area for any large roots or rocks that might impede setting up the frame. Keeping these in mind helps in making the best use of the natural elements to your advantage.
Building Your Cold Frame
Here’s the part I love the most—getting my hands dirty! Follow these steps to construct your own cold frame:
Step 1: Measure and Cut
First, measure your reclaimed windows or clear plastic sheets. This determines the size of the wooden boards you’ll need for the sides of your cold frame. Cut the wooden boards accordingly. Remember, the front should be shorter than the back to create a slanted roof. This slope allows rain and snow to run off rather than accumulate on top.
Step 2: Assemble the Frame
Using nails or screws, assemble the wooden boards into a rectangular box. Remember to place the shorter boards at the front and the taller ones at the back to create the slant.
Step 3: Attach the Top
Using hinges, attach the windows or plastic sheets to the top of the frame. This allows you to open and close the top easily for ventilation and access to your plants. Last winter, I added old foam insulation around the edges of the frame to keep the warmth in.
Optimizing Your Cold Frame
Once your cold frame is built, you can make a few tweaks to ensure it works as efficiently as possible. Here are some tips I swear by:
- Insulate the Sides: If you’re expecting particularly cold weather, add bales of straw or hay around the sides of your cold frame for extra insulation.
- Add Thermal Mass: Incorporate materials like bricks or stones inside the frame. These absorb heat during the day and release it slowly at night.
- Ventilation: On sunny days, open the lid to allow excess heat to escape and to provide fresh air for your plants.
- Monitor Moisture: Your plants still need water, but the enclosed environment can sometimes cause excess condensation. Check your soil regularly and water accordingly.
What to Grow in a Cold Frame
The next question that often comes up is what to grow in a cold frame. Here are some of my favourites:
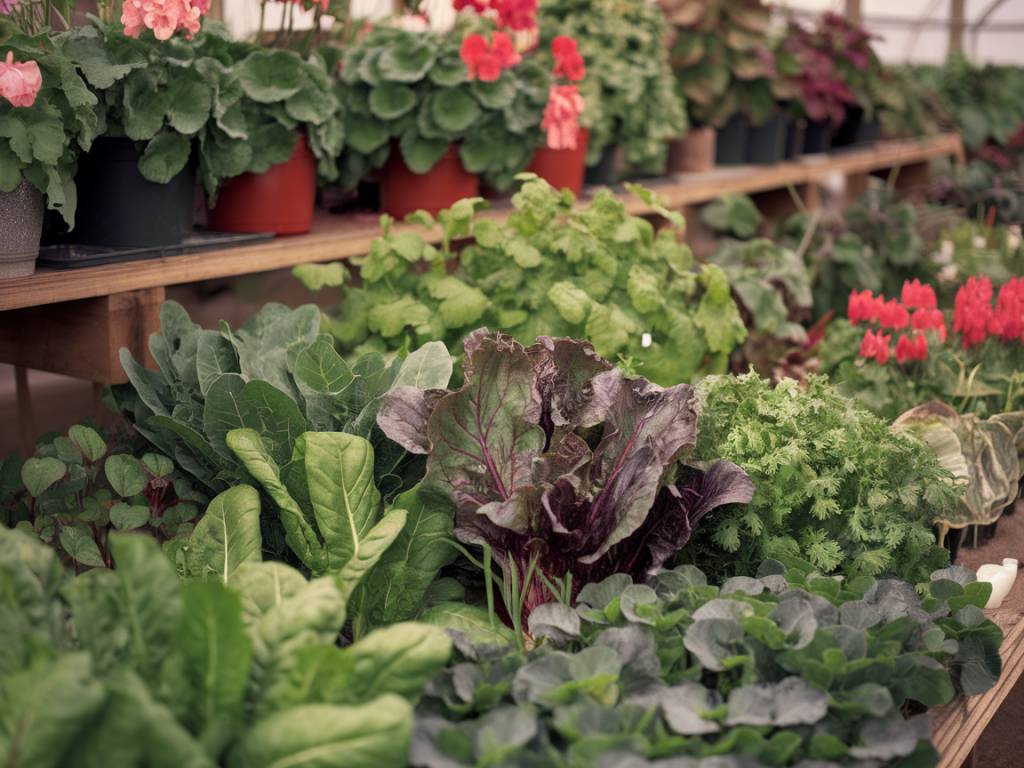
- Leafy Greens: Spinach, lettuce, and kale thrive in the cooler temperatures inside a cold frame.
- Root Vegetables: Carrots, radishes, and beets do well in cold frames, as their roots are protected from the freezing ground.
- Herbs: Parsley, cilantro, and chives can continue to grow through the winter with the protection of a cold frame.
Maintaining Your Cold Frame
Like anything in the garden, your cold frame will require a bit of upkeep. Here are some simple maintenance tips:
- Check for Wear and Tear: Inspect the structure regularly for any signs of damage or wear, especially after harsh weather.
- Clean the Glass: Over time, the glass or plastic top can get dirty, reducing the amount of sunlight entering the frame. Keep it clean to maximize efficiency.
- Rotate Crops: Just like in your main garden, rotating crops within your cold frame can help to prevent soil depletion and reduce the risk of pests and diseases.
Enjoying Your Extended Harvest
By now, you should have a robust, functional cold frame extending your growing season well into the colder months. I can’t even begin to explain the joy of harvesting fresh greens in December or biting into a crisp carrot when everything outside seems frozen solid. It’s a small but satisfying way to stay connected to nature all year long.
Remember, a cold frame is more than just a gardening tool. It’s a bridge that connects you to nature’s rhythm, allowing you to nurture life even when the world outside seems barren. Embrace this simple yet effective method, and watch your garden thrive.
Happy gardening!
Samanta

