When the chilly winds of winter start to sweep across the garden, keeping your crops cozy and thriving can be quite a task. However, with a DIY hoop house, you can extend your growing season, even in the depths of winter. Today, I’ll walk you through building your very own hoop house, inspired by natural gardening principles and permaculture techniques. So, let’s get started on creating a warm haven for your winter crops!
Why a Hoop House?
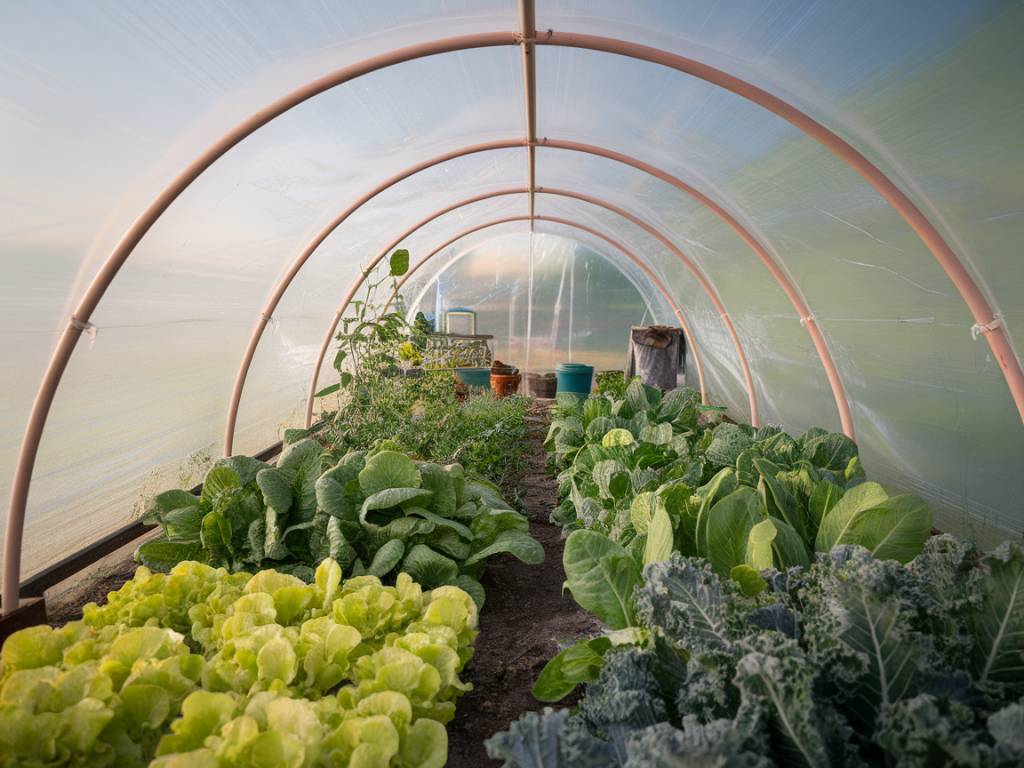
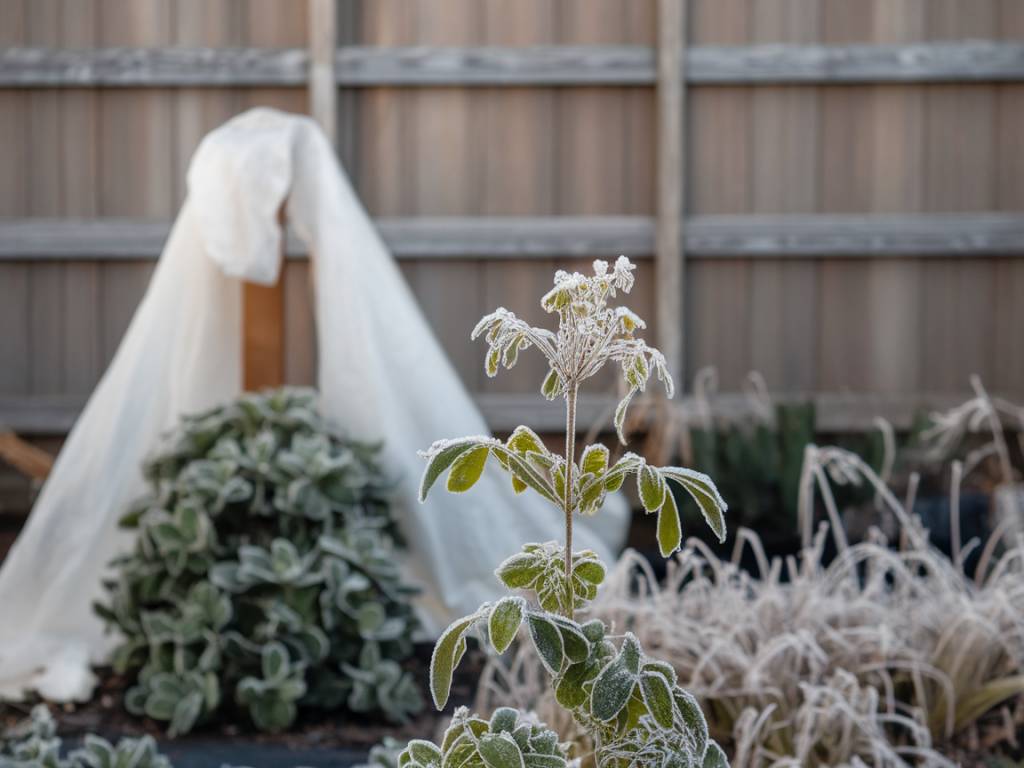
Hoop houses, or polytunnels, are a fabulous way to protect your plants from the harsh winter elements. They create a microclimate that is significantly warmer than the outside environment, allowing you to grow crops that would otherwise be difficult to cultivate during winter months. Besides extending your growing season, hoop houses can also help in pest control and protect your plants from excessive rain and wind. It’s like giving your crops a warm, cozy blanket for the winter!
Gathering Your Materials
Before we dive into the building process, let’s gather all the necessary materials. You’ll need:
- PVC pipes (or metal conduit for a sturdier structure)
- Plastic sheeting (polyethylene film)
- Zipties or clips
- Rope or twine
- Wooden stakes or rebar
- Garden hoops or curved PVC connectors
- Scissors or utility knife
- Measuring tape
Make sure to choose materials that are weather-resistant to ensure the longevity of your hoop house.
Choosing the Right Location
Location is key when setting up your hoop house. Look for a spot that receives ample sunlight throughout the day. Southern exposure is preferable, but ensure that the site is not prone to waterlogging and is sheltered from strong winds. You’ll also want to place your hoop house near a water source to make irrigation easier.
Measuring and Marking Your Area
Start by measuring and marking out the area where you want to build your hoop house. A common size for a hoop house is around 3 meters wide and 6 meters long, but this can be adjusted based on your needs and available space. Use wooden stakes to mark the corners of your desired area. You can also use a string to outline the perimeter, ensuring everything is straight and aligned.
Installing the Hoops
With your area marked out, it’s time to install the hoops. If you’re using PVC pipes, you’ll need to bend them into a semi-circular shape. Follow these steps:
- Insert one end of the PVC pipe into the ground or secure it with a wooden stake or rebar. This will be one side of your arch.
- Bend the pipe to form a hoop and insert the other end into the ground on the opposite side of your marked area.
- Ensure that each hoop is evenly spaced. Typically, spacing hoops about 1 meter apart works well.
Repeat this process for the entire length of your hoop house. Ensure that all the hoops are aligned and securely anchored in place.
Securing the Plastic Sheeting
Now that your hoops are in place, it’s time to cover them with plastic sheeting. Follow these steps to secure the sheeting:
- Cut the plastic sheeting to the length of your hoop house, leaving some extra material on each end for securing.
- Carefully drape the plastic over the hoops, making sure it’s evenly distributed and covers the entire structure.
- Use zipties or clips to attach the plastic to the hoops, securing it at regular intervals. This will keep the plastic taut and in place.
- At the ends of the hoop house, you can weigh down the plastic using wooden stakes or rocks to ensure it doesn’t get lifted by the wind.
Ensure that the plastic sheeting is tight and secure, as any loose flaps can be vulnerable to wind damage.
Creating Ventilation
Proper ventilation is vital for maintaining a healthy environment inside your hoop house. Condensation can build up, leading to mold and mildew. Here’s how you can provide ventilation:
- Create roll-up sides by attaching a piece of wood or PVC pipe to the bottom of the plastic sheeting along the sides of your hoop house.
- Use rope or twine to roll the sides up and secure them in place. This will allow fresh air to flow through the hoop house.
- You can also create small vents at the ends of the hoop house for additional airflow.
During particularly warm days, open the sides and vents to provide adequate ventilation, and close them up again during chilly nights.
Planting Your Winter Crops
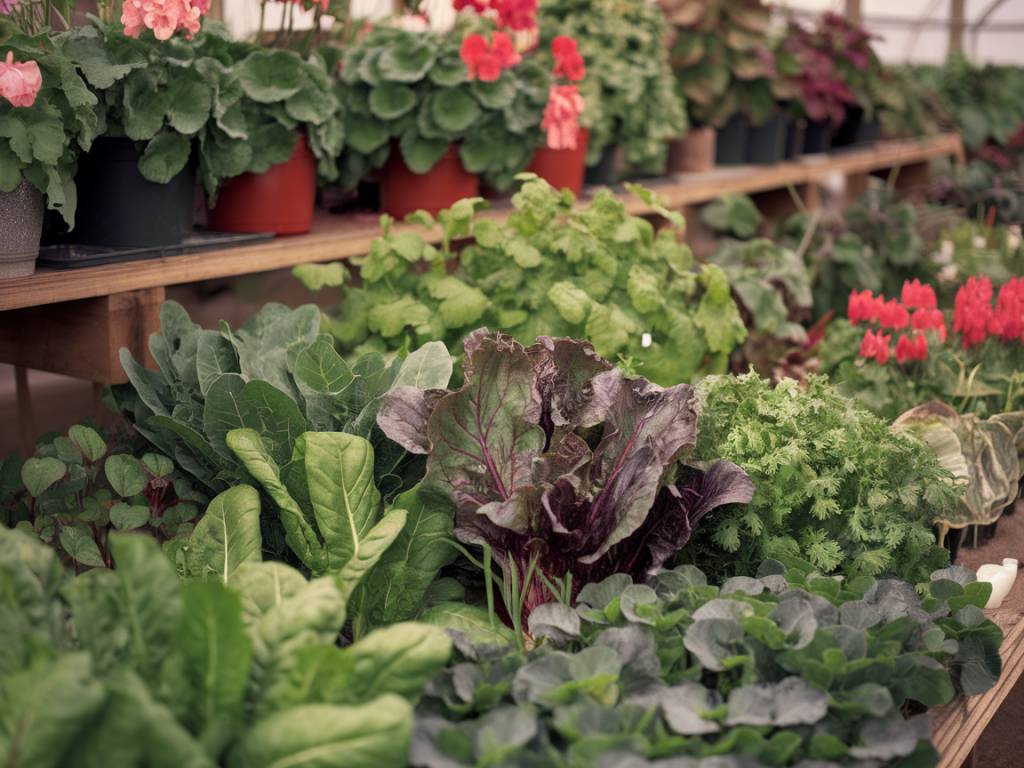
With your hoop house ready, it’s time to plant your winter crops. Choose cold-hardy varieties that can thrive in cooler temperatures. Some excellent options include:
- Kale
- Spinach
- Swiss chard
- Carrots
- Beets
- Leeks
- Radishes
Prepare your soil by adding compost or well-rotted manure to provide essential nutrients. Plant your seeds or seedlings according to the recommended spacing for each crop. Water them well, and ensure they receive adequate moisture throughout the growing season.
Maintaining Your Hoop House
Regular maintenance is key to a successful hoop house. Here are some tips:
- Check the plastic sheeting regularly for any tears or holes, and repair them promptly.
- Monitor the temperature and humidity levels inside the hoop house. Use a thermometer and hygrometer to keep track.
- Water your plants regularly, but be mindful not to overwater. The hoop house environment can retain moisture effectively.
- Inspect your crops for pests and diseases, and take appropriate actions to address any problems promptly.
With a bit of care and attention, your hoop house will provide a warm and productive growing environment throughout the winter months.
Building a DIY hoop house is a rewarding project that allows you to enjoy fresh, homegrown produce year-round. By following these steps and embracing the principles of natural gardening and permaculture, you’ll create a thriving winter garden that nourishes both you and the earth. If you have any questions or need further advice, feel free to leave a comment below. Happy gardening!
Samanta

