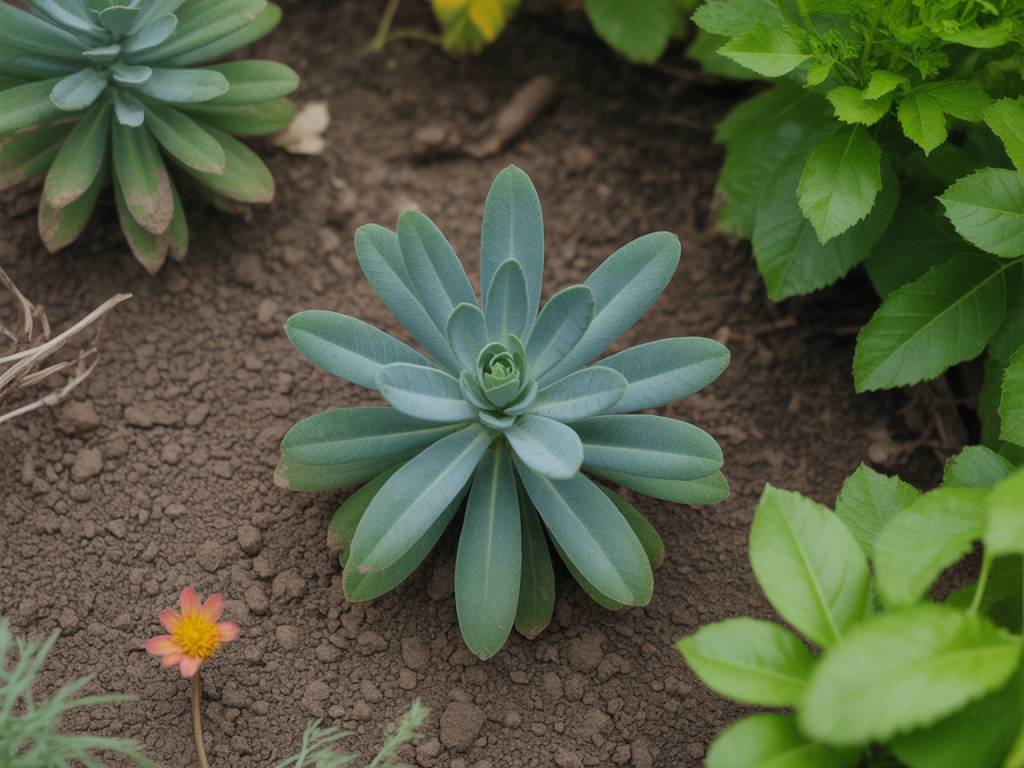
Choosing the Right Pot and Soil
When growing Aloe Vera indoors, it all begins with selecting the right pot and soil. Aloe Vera plants prefer well-draining soil to prevent root rot, so I always opt for a cactus or succulent mix. If you want to prepare your own, mix regular potting soil with sand and perlite to improve aeration and drainage. A terra cotta pot can be an excellent choice as it allows excess moisture to evaporate readily through its porous surface.
Make sure your pot has drainage holes at the bottom. This is crucial for preventing water from accumulating and rotting the roots. If you already have a pot without drainage holes, you can create your own by drilling. A layer of small stones or gravel at the bottom also helps improve drainage.
Location and Light Requirements
Aloe Vera thrives in bright, indirect sunlight. I find that placing the plant on a windowsill with plenty of natural light works best. South or west-facing windows are ideal in the UK. If natural sunlight is insufficient, you can supplement with fluorescent lights. Place the artificial light about 6-12 inches above the plant for at least 12-14 hours a day.
One thing to watch out for is direct, harsh sunlight, which can scorch the leaves. If you notice the leaves turning brown or red, it could be a sign of too much direct sunlight. You may need to move it to a spot with less intense lighting or use a sheer curtain to diffuse the light.
Watering Your Aloe Vera
Watering Aloe Vera can be a bit tricky, but once you get the hang of it, your plant will thrive. Aloe Vera is a succulent and retains water in its leaves, so it’s better to under-water than over-water. During the growing season (spring and summer), I generally water my Aloe Vera every 3 weeks. In the dormant months (autumn and winter), I extend this to about once a month.
To properly water Aloe Vera, make sure the water thoroughly soaks the soil and drains out of the pot’s bottom holes. Allow the soil to dry out completely between waterings. You can check the soil moisture by inserting your finger an inch deep into the soil. If it’s dry, it’s time to water.
Avoid letting the plant sit in excess water; always empty the saucer beneath the pot after watering. Standing water can lead to root rot, which is a common problem for Aloe Vera.
Fertilizing Aloe Vera
Aloe Vera doesn’t require a lot of feeding, but it can benefit from occasional fertilizing. During the growing season, I usually feed my Aloe Vera once a month with a diluted, balanced liquid fertilizer. You can use a standard houseplant fertilizer diluted to half the recommended strength.
It’s important to avoid over-fertilizing as this can cause salt buildup in the soil, which can damage the roots. I also skip fertilizing during the dormant season because the plant’s growth rate slows down, and it doesn’t require as many nutrients.
Repotting Aloe Vera
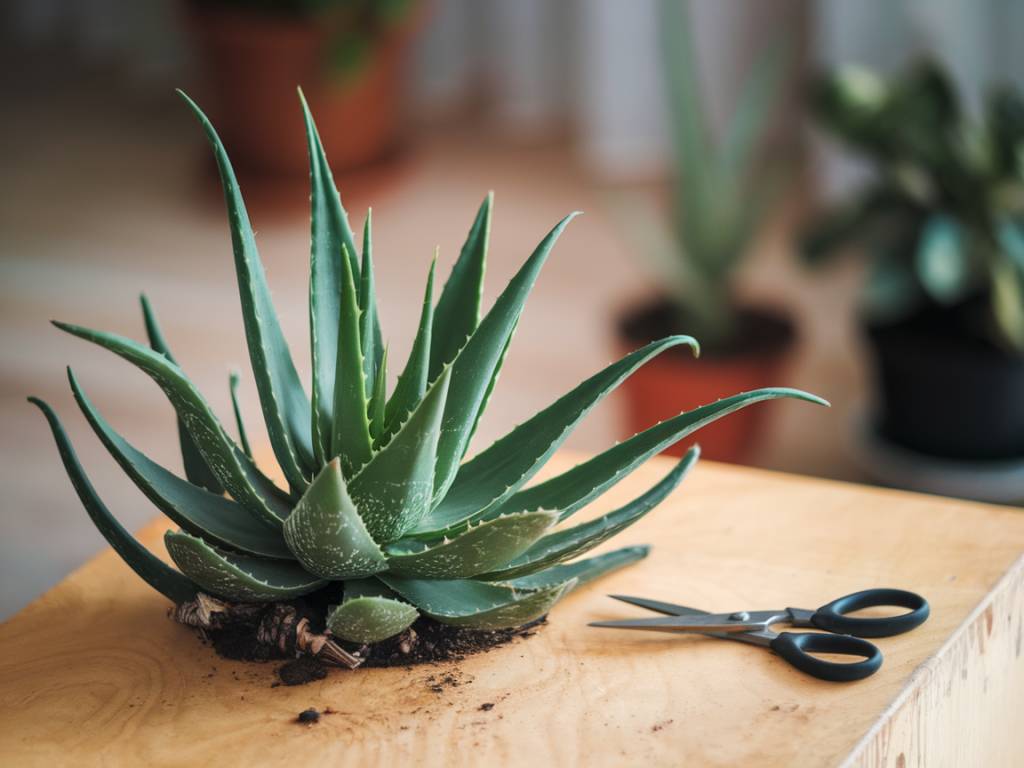
Aloe Vera plants will eventually outgrow their pots and need repotting. You might notice the roots sticking out of the drainage holes or the plant becoming top-heavy. When this happens, it’s time to transfer your Aloe Vera to a slightly larger pot.
Spring is the best time for repotting. Carefully remove the plant from its current pot, gently detangling the roots. Place the Aloe Vera in the new pot with fresh, well-draining soil. After repotting, be sure to water sparingly as the roots adjust to the new environment.
Dealing with Pests and Diseases
While Aloe Vera is relatively pest-resistant, it isn’t entirely immune to problems. Some common issues I have encountered include mealybugs, scale insects, and fungal diseases. Here’s how to manage them:
- Mealybugs: These pests appear as white, cotton-like clusters on the leaves. You can remove them manually with a cotton swab dipped in rubbing alcohol or use insecticidal soap.
- Scale insects: These look like small, brown lumps on the plant. They can be removed with a scraper or a cloth soaked in soapy water.
- Fungal diseases: Over-watering can create a perfect environment for fungal diseases. Ensure good air circulation around the plant and avoid waterlogged soil.
If your plant does suffer from any of these issues, isolate it to prevent pests or diseases from spreading to other houseplants.
Harvesting Aloe Vera
One of the joys of growing Aloe Vera is harvesting its gel, which can be used for burns, cuts, and skincare. The best leaves to harvest are the outermost ones as they are the oldest and thickest. To harvest, use a clean, sharp knife to cut the leaf close to the base.
After cutting, let the leaf sit upright for a few minutes to allow the yellow latex (which can be irritating to the skin) to drain out. Then, peel away the skin to reveal the clear gel inside. Store any unused gel in an airtight container in the fridge for up to a week.
Propagating Aloe Vera
If you want to expand your Aloe Vera collection or share it with friends, propagation is quite straightforward. Aloe Vera produces baby plants, known as pups, around its base. These pups can be removed and planted separately.
When the pups are at least a few inches tall with their own root systems, carefully remove them from the parent plant. Let them dry out for a day or two to allow the cut ends to callous over. Then, plant each pup in its own small pot with well-draining soil, and water sparingly until they become established.
General Tips and Troubleshooting
Growing Aloe Vera indoors can be an enjoyable experience, but here are a few general tips and solutions to common issues:
- Yellowing leaves: This often indicates over-watering. Allow the soil to dry out completely before the next watering.
- Brown or scorched leaves: This can result from too much direct sunlight. Move the plant to indirect light or use a sheer curtain to filter the sunlight.
- Soft, mushy leaves: Usually a sign of root rot caused by waterlogged soil. Remove affected leaves and repot the plant in dry, well-draining soil.
- Leggy growth: If your Aloe Vera starts to stretch out and become leggy, it desperately needs more light. Move it to a brighter location.
With these comprehensive care tips, you’ll be well-equipped to grow a thriving indoor Aloe Vera plant. Happy gardening!
— Samanta

