As the seasons change and winter approaches, many gardeners might think it’s time to hang up their trowels and take a break. However, there are still plenty of gardening activities that can be done during the colder months, and growing garlic is one of them. Garlic is a hardy crop that actually benefits from being planted in autumn or early winter. By following a few simple steps, you can ensure a bountiful garlic harvest come summer. Here’s how I grow garlic over winter in my garden.
Selecting the Right Garlic Variety
Choosing the right variety of garlic is crucial for a successful harvest. In the UK, there are two main types of garlic to consider: hardneck and softneck.
Hardneck Garlic: This type is known for its stronger flavor and is more closely related to wild garlic. It produces a flower stalk or « scape » and thrives in colder climates.
Softneck Garlic: Softer in flavor compared to hardneck, this type does not produce a scape and generally stores better. It’s also more suited to milder climates.
Personally, I like to plant a mix of both types to enjoy the diverse flavors and benefits they offer.
Preparing Your Soil
Garlic thrives in well-drained soil with a high organic matter content. Here’s my method for preparing the soil:
- Location: Choose a sunny spot in your garden with good drainage.
- Soil Preparation: I begin by loosening the soil to a depth of 8-12 inches, removing any weeds or debris.
- Composting: I generously amend the soil with well-rotted compost or manure. Garlic thrives in nutrient-rich conditions.
- pH Balance: Ensure the soil pH is between 6.0 and 7.5. You can use a soil test kit if you’re unsure.
Planting the Garlic
Timing is essential when planting garlic. In the UK, the best time to plant is from late October to mid-December. Here’s my step-by-step method:
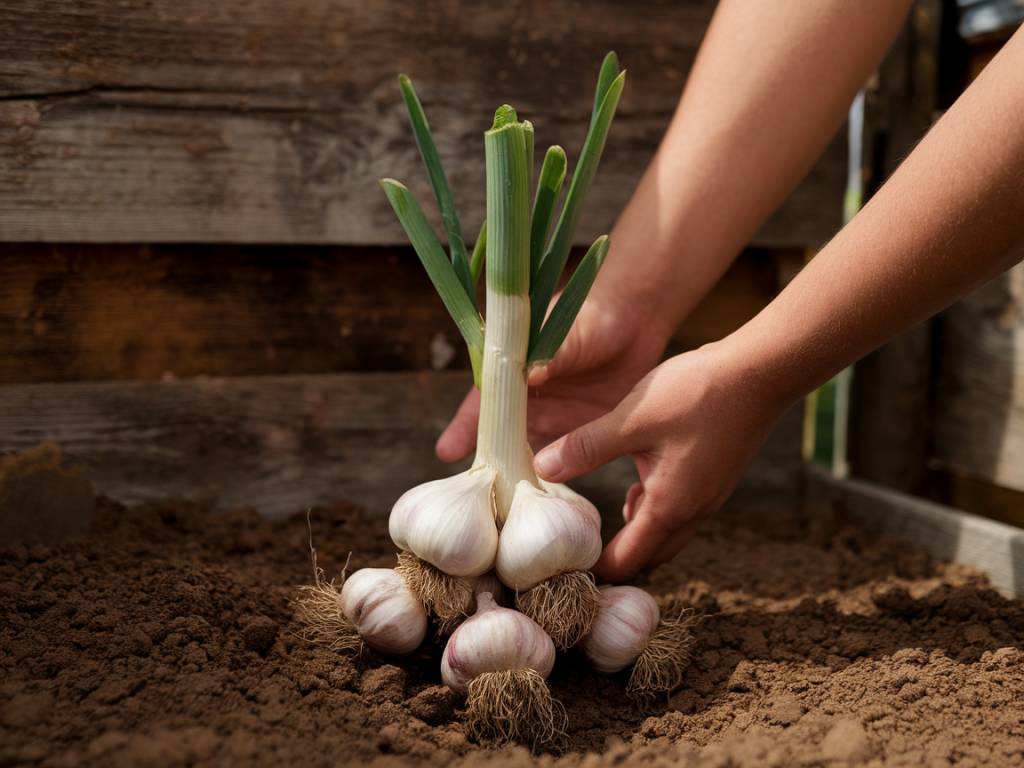
- Separate the Cloves: Break apart the garlic bulbs into individual cloves just before planting. Each clove will grow into a new bulb.
- Planting Depth: I plant cloves about 2 inches deep with the pointed end facing up.
- Spacing: Space the cloves about 6-8 inches apart to allow for good air circulation and growth.
- Mulching: After planting, I cover the area with a thick layer of straw or leaf mulch. This helps to insulate the soil, retain moisture, and suppress weeds.
Winter Protection and Care
Although garlic is quite hardy, it still needs some care during the winter months to ensure it grows well:
- Watering: Garlic doesn’t require much water over winter. However, I make sure the soil remains slightly moist, especially during dry spells.
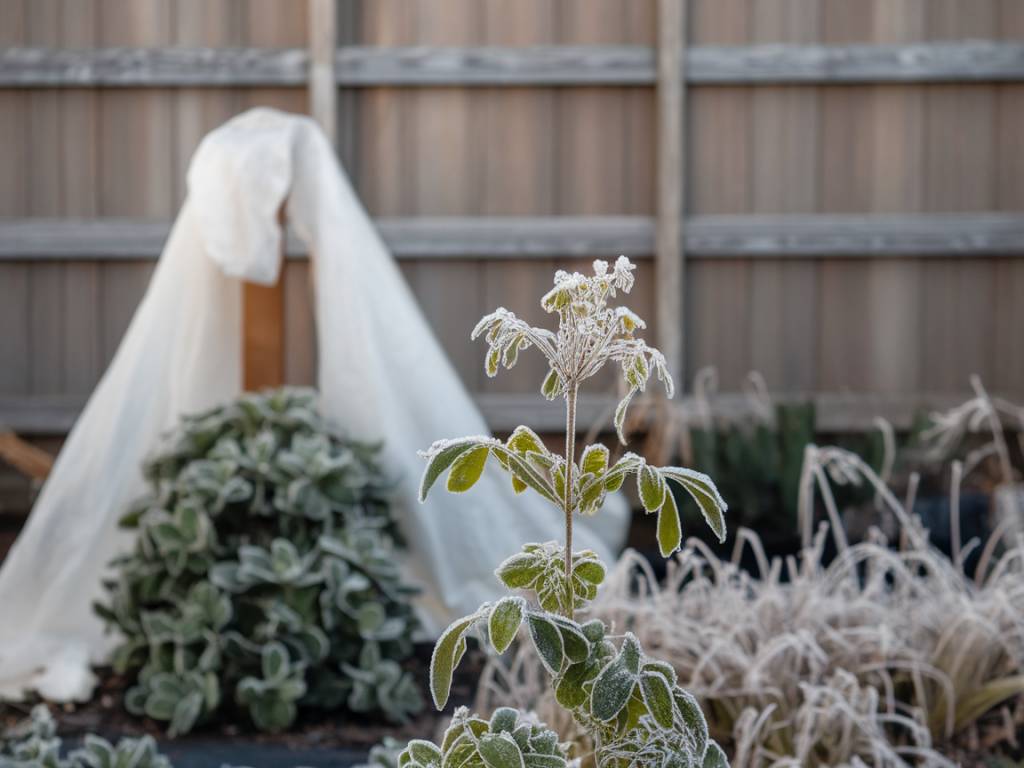
- Frost Protection: In areas prone to severe frost, I add an extra layer of mulch to protect the cloves from freezing.
- Pest Management: Keep an eye out for pests. Treat any signs of infestation with natural remedies, such as neem oil or insecticidal soap.
Spring Growth and Scape Removal
Come spring, you’ll start to see your garlic sprouting. This is an exciting time as the plants really begin to thrive:
- Fertilizing: I apply a high-nitrogen organic fertilizer in early spring to give the garlic a boost.
- Scape Removal: If you’ve planted hardneck varieties, they will produce scapes around late spring. I recommend cutting these off to direct more energy into bulb development. As a bonus, the scapes are delicious and can be used in cooking.
- Weeding: Keep the area around your garlic free from weeds. Weeds compete for nutrients and can hinder bulb growth.
Harvesting Your Garlic
Garlic is typically ready to harvest in mid-summer, once the leaves start to yellow and die back:
- Timing: Harvest when about half of the leaves have turned brown but the lower half is still green.
- Harvest Method: Gently loosen the soil around the garlic with a fork and lift the bulbs out carefully to avoid damaging them.
- Drying and Curing: Lay the harvested garlic in a well-ventilated, shaded area to dry for about 2-3 weeks. This process allows the garlic to cure, which enhances its flavor and storage life.
Storing Garlic
Proper storage is key to extending the shelf life of your garlic:
- Cleaning: Once the garlic is fully cured, clean off any excess soil. Be gentle to avoid bruising the bulbs.
- Storage Conditions: Store your garlic in a cool, dry place with good air circulation. I use mesh bags or hang braided garlic strands in my pantry.
- Avoid Refrigeration: Garlic does not store well in the refrigerator as the cold and moisture can cause it to sprout or become moldy.
Growing garlic over winter is a rewarding experience that bridges the gap between the gardening seasons. With a bit of effort and care, you’ll be rewarded with a delicious and aromatic harvest that can be enjoyed in a multitude of dishes. Happy planting!
Samanta

