As the temperatures drop and the days become shorter, it’s time to prepare your garden for the winter months. Harvesting and storing winter vegetables correctly not only ensures you enjoy your garden’s bounty throughout the cold season but also lays the groundwork for healthier crops in the following year. Let me share some of my favorite techniques for both harvesting and storing winter vegetables such as carrots, parsnips, Brussels sprouts, and cabbages. Using these methods, derived from permaculture principles, I guarantee you’ll get the most out of your winter garden.
Timing Your Harvest
One of the key factors in harvesting winter vegetables is timing. Knowing when to harvest ensures your veggies reach their peak flavor and nutritional value.
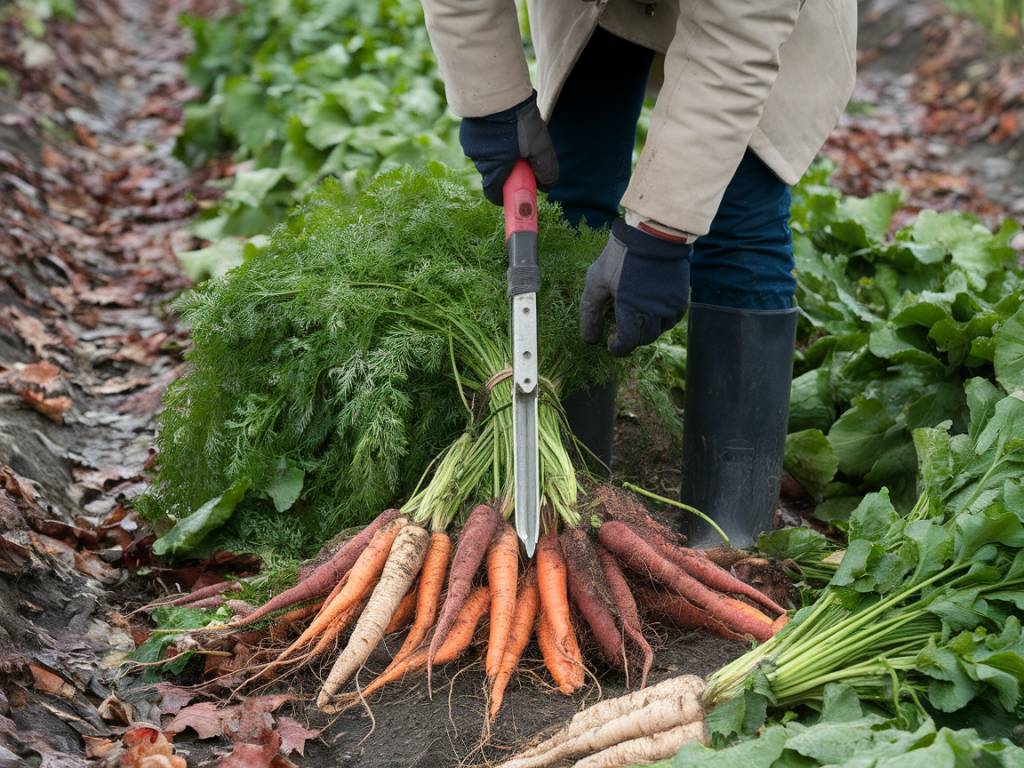
Pay close attention to your vegetables’ growth cycle. Root vegetables like carrots and parsnips are usually ready when their tops protrude from the soil. Brassicas, such as Brussels sprouts and cabbages, should be firm and robust before you harvest them.
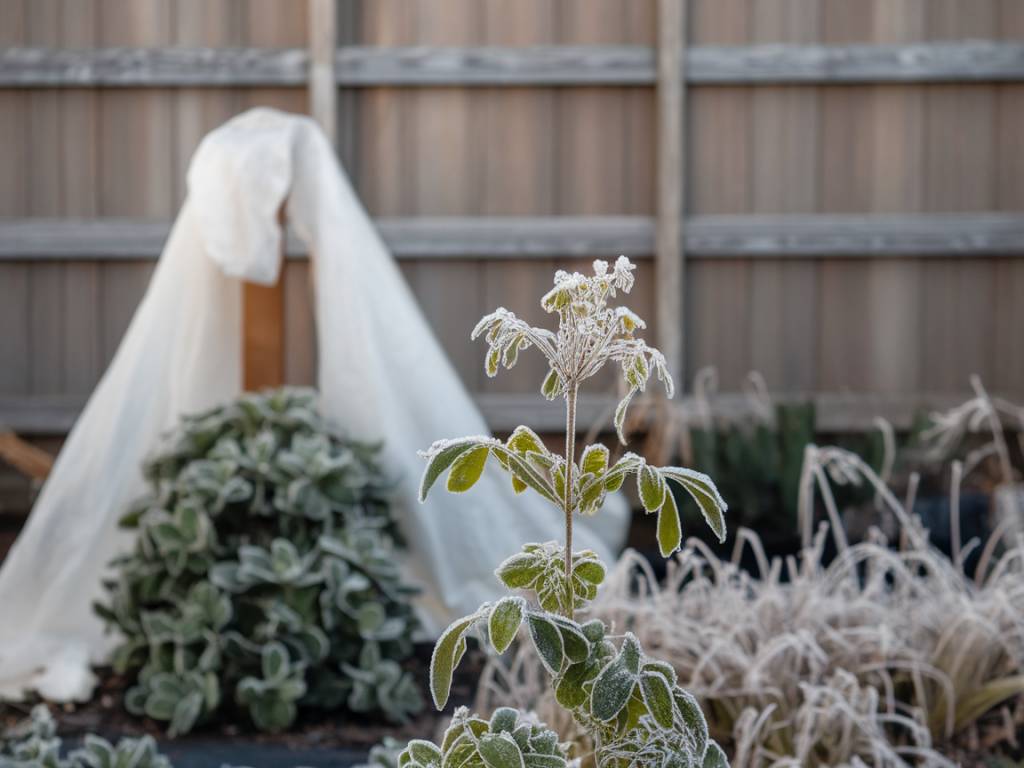
It’s also important to keep an eye on the weather. Harvesting before the first heavy frost is crucial for most vegetables, even those that are cold-hardy. Aim to complete your harvest when the ground is dry to avoid damage to the plants and soil structure.
Techniques for Harvesting Different Vegetables
Each type of vegetable requires a specific technique to ensure they’re harvested without damage.
Cleaning and Curing
Once harvested, it’s essential to clean and prepare your vegetables for storage. For root vegetables, removing excess soil is typically sufficient. Avoid washing them as this can introduce moisture that promotes rot.
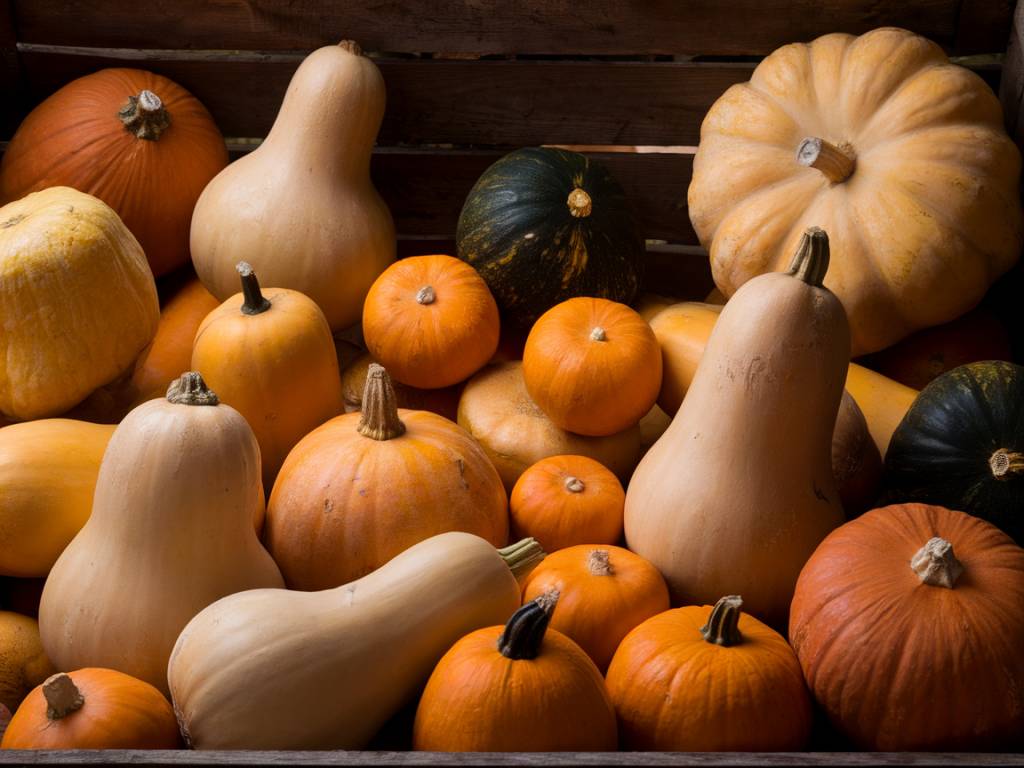
Curing winter squash helps to toughen their skins, making them more durable for long-term storage. To cure, keep them in a warm, dry place for a week or two before storage.
Leeks and brassicas can be gently washed to remove soil. Make sure they are thoroughly dried before storing to prevent mold and rot.
Storing Root Vegetables
Storing root vegetables properly can extend their freshness for several months. Here’s how I do it:
Storing Brassicas
Brassicas require a different approach for storage to ensure they remain fresh and edible.
Freezing Winter Vegetables
For those with limited storage space, freezing is an excellent option that preserves the flavor and nutritional value of your vegetables.
Using Root Clamps
Root clamps are an age-old method of storing root vegetables outdoors during the winter months. They’re particularly useful if you lack indoor storage space.
To create a root clamp, start by digging a shallow pit in well-drained soil. Line the pit with straw or hay, place the vegetables on top, and cover them with more straw or hay. Finally, heap a mound of soil over the entire pile, ensuring a thick layer to insulate the contents from cold weather. This method keeps the vegetables cold and prevents them from freezing, providing access to fresh produce throughout the winter.
Maintaining Soil Health
Once you’ve harvested your winter vegetables, don’t forget to give some attention to the soil. Winter is an excellent time to focus on soil health to ensure robust growth in the coming seasons.
By paying attention to these details, you’ll be able to enjoy the fruits (and vegetables) of your labor throughout the winter months. Remember, every garden and climate is different, so feel free to adapt these techniques to suit your specific needs. If you have any questions or need further advice, don’t hesitate to reach out. Here’s to a bountiful and healthy winter garden!
Happy gardening,
Samanta

