As the colder months approach and the days grow shorter, many of us gardeners start thinking about how to protect our precious seedlings from the harsh winter weather. One fantastic way to give your winter seedlings a fighting chance is by making a DIY cloche. Not only are they practical, but they also add a charming touch to your garden beds. Allow me to guide you through the simple process of creating your very own cloche, using materials you probably already have around your home.
Why Use a Cloche?
Before we dive into the DIY steps, it’s worth understanding why a cloche is such an essential tool for winter gardening. A cloche acts as a mini greenhouse, providing your seedlings with a warmer, more stable environment. Here are some of the key benefits:
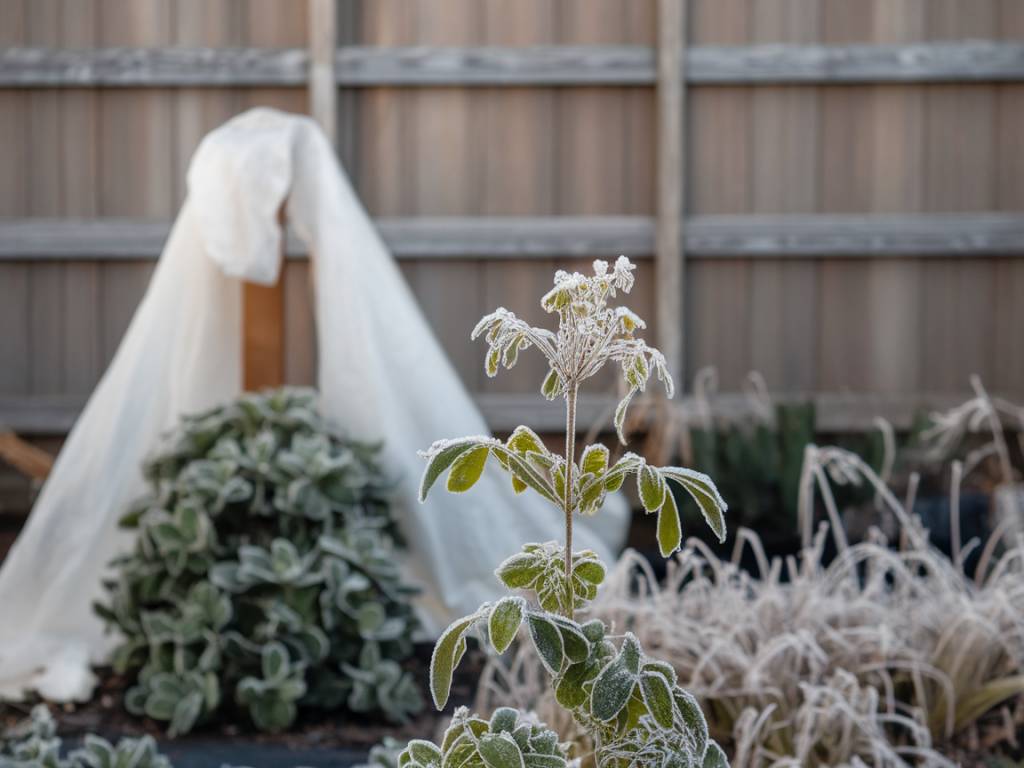
- Protects seedlings from frost and cold winds
- Maintains higher humidity levels, crucial for young plants
- Allows for an earlier start on your spring planting
- Guards against pests that might otherwise feast on tender shoots
- Improves overall plant health and growth rates
Materials You’ll Need
The beauty of making your own cloche lies in its simplicity and affordability. Here’s what you’ll need to get started:
- Clear plastic bottles or jars (2 to 5 liters)
- Scissors or a sharp utility knife
- Stakes or garden canes (optional)
- Soil or mulch to anchor the cloche
- Twine or garden wire (optional)
Step-by-Step Guide
Follow these simple steps to make your DIY cloche and give your seedlings the best start this winter:
Preparing the Bottles or Jars
Start by selecting your clear plastic bottles or jars. Larger bottles like those used for water or soft drinks are perfect. Make sure they’re clean and free from any residues.
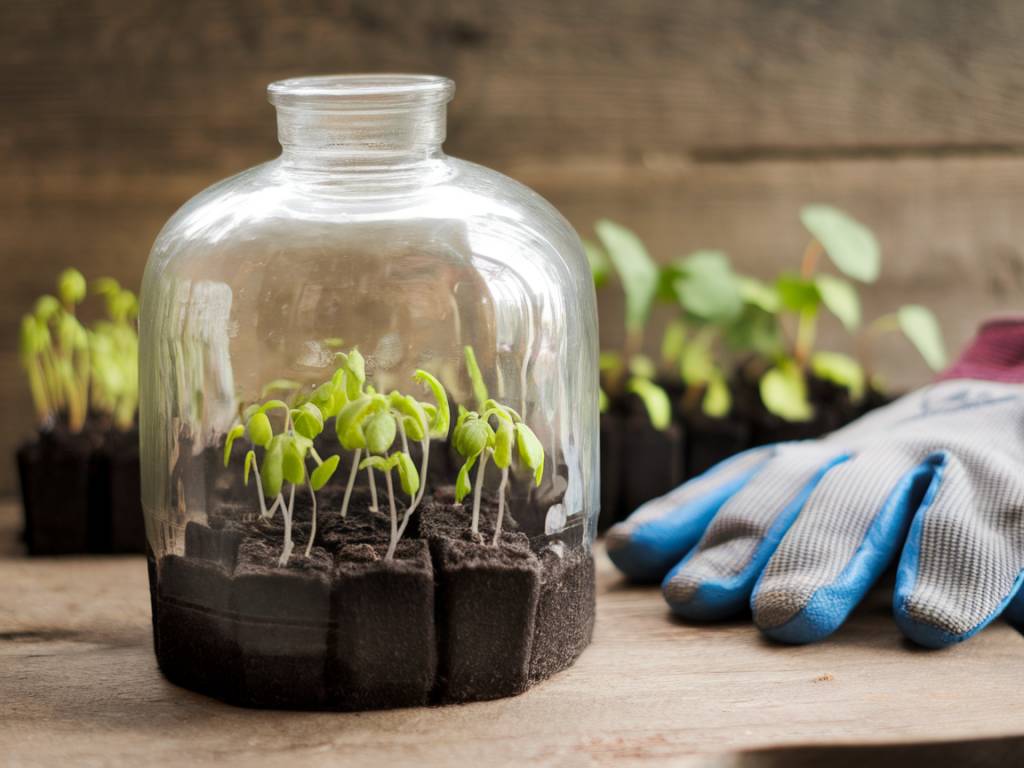
Using your scissors or a sharp utility knife, carefully cut the bottom off each bottle. You’ll be left with a bell-shaped cover. This is your basic cloche structure. For jars, simply use them as they are, ensuring they have no lids which can restrict airflow.
Setting Up the Cloche
Select the seedlings you want to protect and place a cloche over each one. Gently push the cloche into the soil to anchor it. Make sure it’s snug, but don’t damage the plant.
If you’re worried about strong winds blowing your cloches away, you can use stakes or garden canes for added stability. Simply place a stake on each side of the cloche and secure it with twine or garden wire.
Another effective method is to mound soil or mulch around the base of the cloche. This will help to hold it firmly in place and provide extra insulation.
Ventilation and Maintenance
While cloches are excellent for providing warmth, you also need to ensure proper ventilation to prevent mould and mildew. During the warmer parts of the day, you can slightly lift the cloche or remove it temporarily to allow some fresh air to circulate.
Check your seedlings regularly for any signs of overheating or excessive moisture. If you notice condensation building up inside the cloche, that’s a sign it’s time to provide some ventilation. You can prop up the edge of the cloche slightly using a small stone or piece of wood.
Monitoring and Adjusting
As your seedlings grow, you might need to adjust the height of the cloche to accommodate their increasing size. If you find that your cloche is becoming too small, you can either replace it with a larger one or create a taller structure using clear plastic sheeting supported by stakes or hoops.
Keep an eye on the weather forecast, especially during periods of severe cold. You might need to provide additional insulation by doubling up cloches or adding a layer of fleece or agricultural fabric underneath the cloche for extra protection.
Recycling and Reusing
One of the great things about making your own cloches is the opportunity to repurpose materials that might otherwise end up in the bin. Clear plastic bottles are often single-use items, but they can have a second life in your garden.
At the end of the winter season, clean your cloches thoroughly and store them in a dry place for future use. Not only is this sustainable, but it also saves you money and reduces waste.
Embracing Permaculture Principles
Creating DIY cloches ties in beautifully with the principles of permaculture. Using what you have, recycling materials, and providing a resilient, nurturing environment for your plants are all key aspects of this sustainable approach to gardening.
By making your own cloches, you’re aligning with these principles and contributing to a healthier ecosystem. Your seedlings will thrive, and you’ll have the satisfaction of knowing that you’ve taken an eco-friendly approach to winter gardening.
Homemade cloches give your winter seedlings the vital protection they need to survive and flourish. They’re easy to make, cost-effective, and harmonize perfectly with a natural, permaculture-inspired approach to gardening. So why not give it a try and see the difference it makes in your garden?
Happy gardening!
– Samanta

