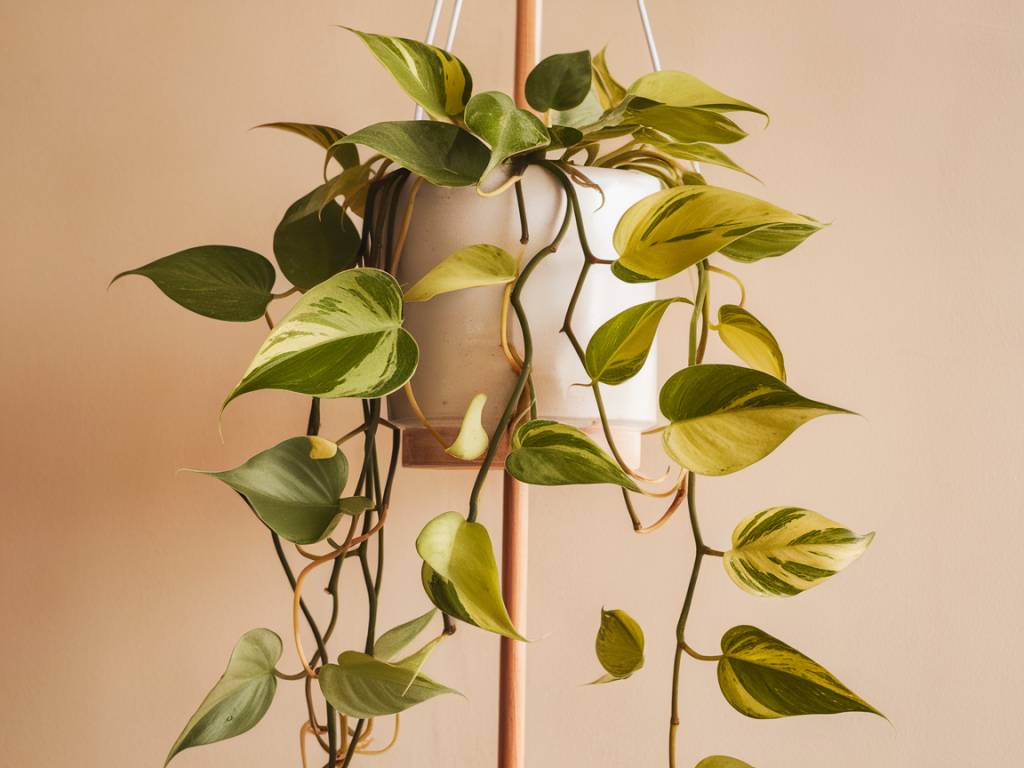
Pothos, or Devil’s Ivy, is one of the most forgiving houseplants you can grow. It’s ideal for novice gardeners or anyone looking to add some greenery to their space. One of the best things about pothos is how easy it is to propagate. With just a few steps, you can grow new plants that you can keep for yourself or share with others. In this article, I’ll guide you through the process of propagating pothos, sharing some of my favorite tips and techniques for ensuring healthy new growth.
Gathering Your Supplies
Before you begin, it’s essential to gather all the necessary supplies. Being prepared will make the entire process smoother and more enjoyable. Here’s what you’ll need:
- Healthy pothos plant
- Sharp, sterilized scissors or pruning shears
- Glass jar or container
- Water (preferably filtered or rainwater)
- Small pots with well-draining soil
- Optional: rooting hormone
Choosing the Right Stem
The first step in propagating pothos is to select a healthy stem from the parent plant. Look for a stem that is about 4-6 inches long and has several leaves. The ideal stem should be free from any signs of disease or damage. Choose a vine that has at least one node, preferably more. Nodes are the small bumps along the stem where leaves grow and where new roots will develop.
Making the Cut
Once you’ve identified the right stem, it’s time to make the cut. Use sharp, sterilized scissors or pruning shears to make a clean cut just below a node. This is where the roots will start to grow. Cutting just below the node ensures that the node itself is included in the cutting, which is crucial for successful propagation.
Try to make the cut at an angle to increase the surface area for water absorption and discourage the growth of any fungi or bacteria. If you have a large pothos plant, you might want to take several cuttings at once to increase your chances of successful propagation.
Preparing the Cuttings
After you’ve taken your cuttings, remove the leaves closest to the cut end, leaving at least one or two leaves at the top. This step is essential as it reduces the amount of water the cutting needs to stay alive and encourages the plant to focus on root development.
If you’re using rooting hormone, dip the cut end of the stem into the powder. While this step is optional, it can speed up the rooting process and increase the chances of successful propagation.
Rooting in Water
Place each cutting in a glass jar or container filled with water. Make sure that at least one node is submerged in the water. Place the jar in a spot with bright, indirect light. Avoid direct sunlight as it can cause the water to overheat and damage the cuttings.
Change the water every few days to keep it fresh and oxygenated. Within a few weeks, you should start to see roots developing from the node. Be patient; some cuttings may take longer than others to root.
Once the roots are about 1-2 inches long, your cuttings are ready to be transplanted into soil. However, if you prefer, you can keep your new pothos plants in water indefinitely. Just make sure to change the water regularly to keep it clean.
Transplanting into Soil
When your pothos cuttings have developed a healthy root system, it’s time to transplant them into soil. Choose small pots with good drainage and fill them with a well-draining soil mix. Pothos plants are not too fussy about soil, but a mix of potting soil and perlite or sand will provide the right balance of moisture retention and drainage.
Make a small hole in the soil with your finger or a stick, and gently place the rooted cutting into the hole. Fill in around the cutting with soil and press it down lightly to secure the plant. Water the soil lightly to help settle it around the roots.
Caring for Your New Plants
Now that your new pothos plants are in soil, it’s important to care for them properly to ensure healthy growth. Here are some tips:
- Light: Place your new plants in a spot with bright, indirect light. Pothos can tolerate low light conditions, but they will grow more vigorously with more light.
- Water: Water the soil when the top inch feels dry to the touch. Pothos plants prefer to dry out between waterings, so be careful not to overwater.
- Humidity: Pothos can tolerate a range of humidity levels but will thrive in higher humidity. Mist the leaves occasionally or place a humidifier nearby to boost humidity.
- Fertilizing: Feed your pothos plants with a balanced, water-soluble fertilizer every 4-6 weeks during the growing season. Be sure to follow the manufacturer’s instructions to avoid over-fertilizing.
Dealing with Common Issues
Even though pothos are hardy plants, they can sometimes face a few common issues. Here are some tips for troubleshooting:
- Yellowing Leaves: This can be a sign of overwatering or poor drainage. Allow the soil to dry out between waterings and ensure your pots have good drainage.
- Browning or Crispy Leaves: This could indicate underwatering or too much direct sunlight. Adjust your watering schedule and move the plant to a spot with less direct light.
- Pests: Pothos can occasionally attract pests like spider mites or mealybugs. Wipe the leaves with a damp cloth and treat the plant with insecticidal soap if necessary.
Propagation is a wonderful way to expand your indoor garden while learning more about your plants. With just a little effort and patience, you can turn a single pothos plant into many. Happy gardening!
Samanta
